
This lesson is made with PSPX9
But is good with other versions.
© by SvC-Design

Materialen Download :
Here
******************************************************************
Materials:
DECO PERSO 1 164 .png
DECO PERSO 2 164 .png
FOND 164 .png
GRADIENT GLOW 164 .f1s
SELECTION 1 164 .PspSelection
SELECTION 2 164 .PspSelection
SELECTION 3 164 .PspSelection
SELECTION 4 164 .PspSelection
SELECTION 5 164 .PspSelection
SELECTION 6 164 .PspSelection
SELECTION 7 164 .PspSelection
818988690fb915ab6122db8e05e74569.jpg
AOUT 2021 BANC 08 21 2021 SWEETY.png
AOUT 2021 BELLE DAUTOMNE 08 SWEETY.png
******************************************************************
Plugin:
Plugin - MuRa’s Meister - Perspective Tiling
Plugin - Unlimited 2.0 – Astronomy - Gravitational Lenser 1.3
Plugin - Alien Skin Eyes Candy 5 – Impact - Gradient Glow
******************************************************************
color palette
:
******************************************************************
methode
When using other tubes and colors, the mixing mode and / or layer coverage may differ
******************************************************************
General Preparations:
First install your filters for your PSP!
Masks: Save to your mask folder in PSP, unless noted otherwise
Texture & Pattern: Save to your Texture Folder in PSP
Selections: Save to your folder Selections in PSP
Open your tubes in PSP
******************************************************************
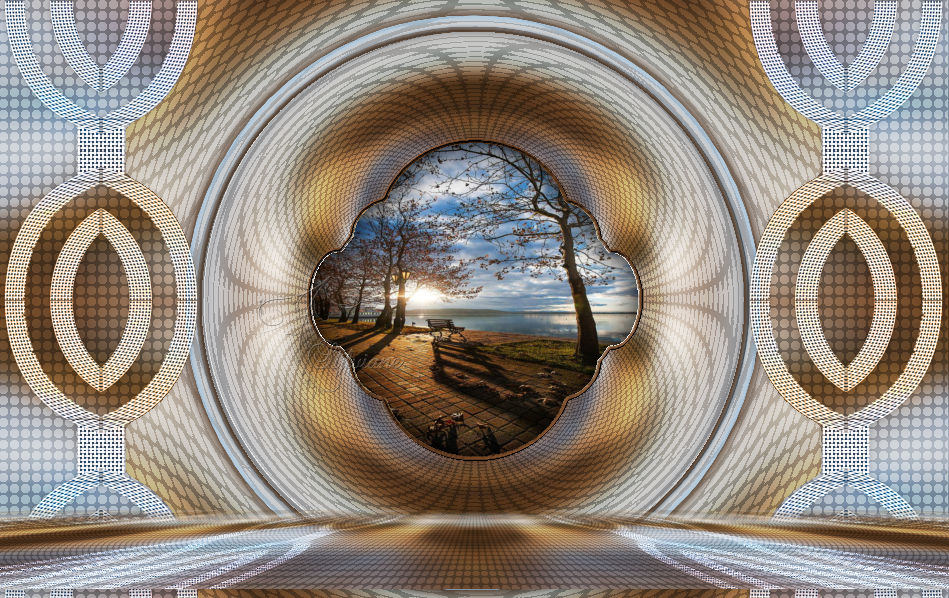
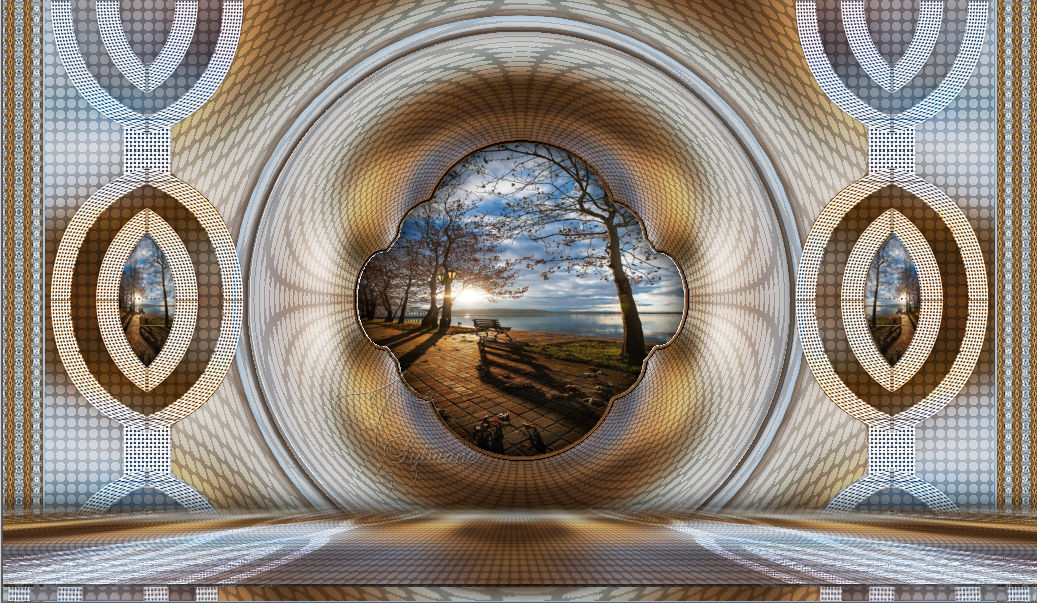
We will start - Have fun!
Remember to save your work on a regular basis
******************************************************************
1.
Choosing an autumn landscape image that you like
Take two colors (AVP : Dark/ ARP : light) -
Open a transparent layer of 950x600 pixels
Selection - Select All
Open FOND 164 .png
Edit – Copy
Edit - Paste into selection
Selection - Select None
Important: Color in your tones. For example: Once pasted in the selection
the image BACKGROUND 164 you add a layer then select everything and paste your image
in the selection. Deselect all. Default joinless tile.
Gaussian blur radius 20. Move to the bottom of the stack. Return to the top of the stack
and put this layer on * Luminance (H) * or other
and merge with the bottom layer and continue below
open DECO PERSO 1 164 .png
Edit – Copy
Edit - Paste as new layer
Do not move it, it is in its place
Blendmode: Overlay
opacity 45%
2.
Open DECO PERSO 2 164 .png
Edit – Copy
Edit - Paste as new layer
Do not move it, it is in its place
Blendmode: Overlay
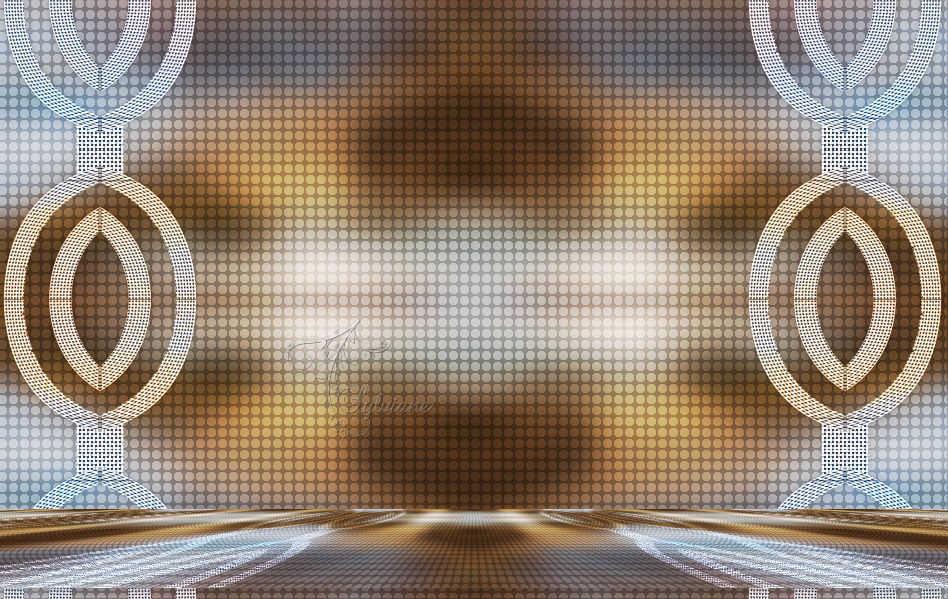
Layers - Merge - Merge visible layers
Layers - Duplicate
Plugin - MuRa’s Meister - Perspective Tiling

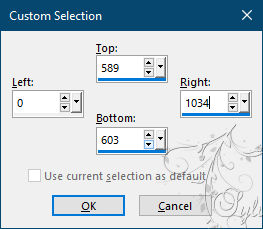
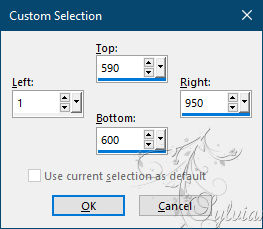
Selection - Custom selection
Edit - delete or delete using the keyboard.
Selections - Invert
Effects - 3 D effects - Drop shadow
0/0/40/20 color:#000000
Selection - Select None
3.
Open DECO PERSO 2 164 .png
Edit – Copy
Edit - Paste as new layer
Do not move it, it is in its place
Blendmode: Luminance (Legacy)
Effects - 3 D effects - Drop shadow
0/0/20/10 color:#000000
Layers – arrange – move down
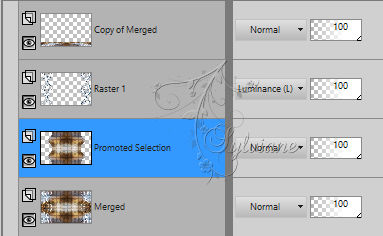
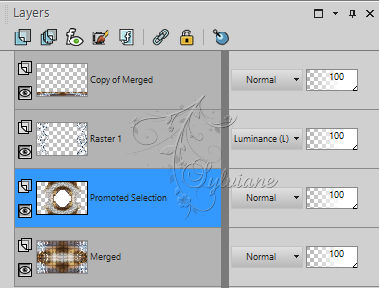
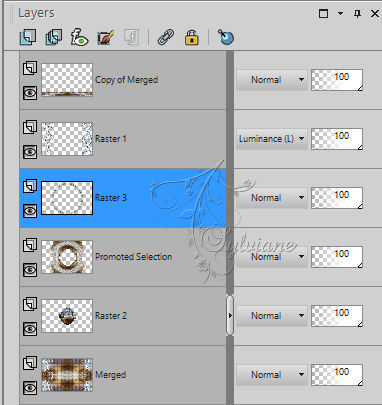
Our layers and our tag look like this:
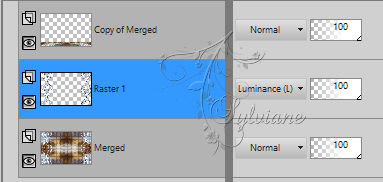
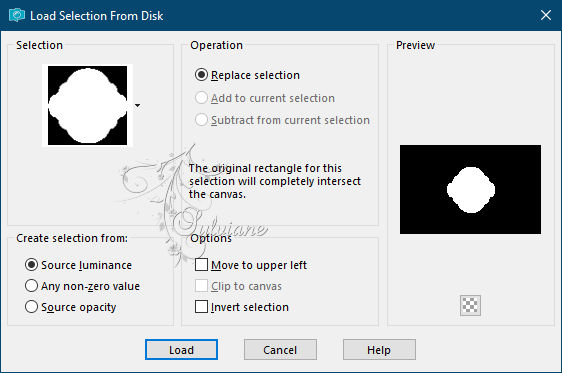
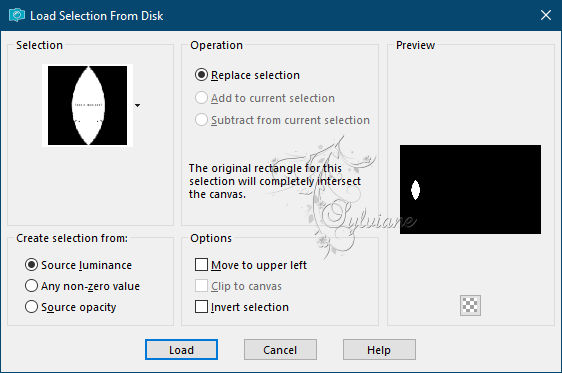
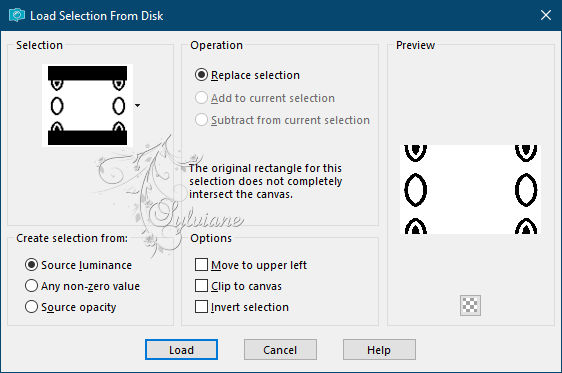
Selections - Load / Save - Load selection from disk - SELECTION 1 164 .PspSelection
Activate Copy of Merged
Delete or delete on the keyboard three times
Selection - Select None
4.
Activate Merged
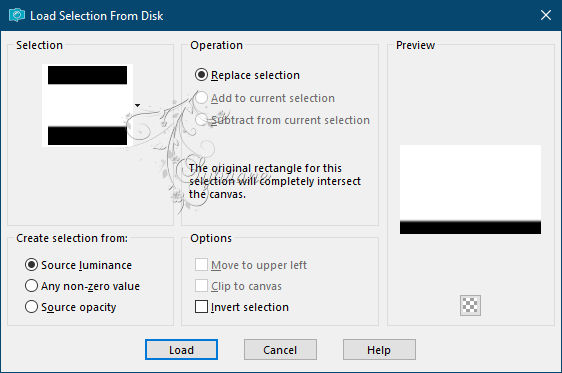
Selections - Load / Save - Load selection from disk – SELECTION 2 164 .PspSelection
Selections – Promote selections to layer
Selection - Select None
Selection - Custom selection
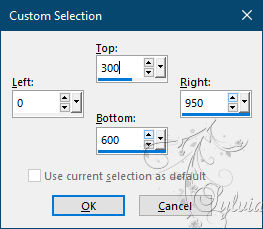
Delete or delete on the keyboard
Selection - Select None
Layers - Duplicate
Image - Mirror - Vertical Mirror
Layers – merge – merge down
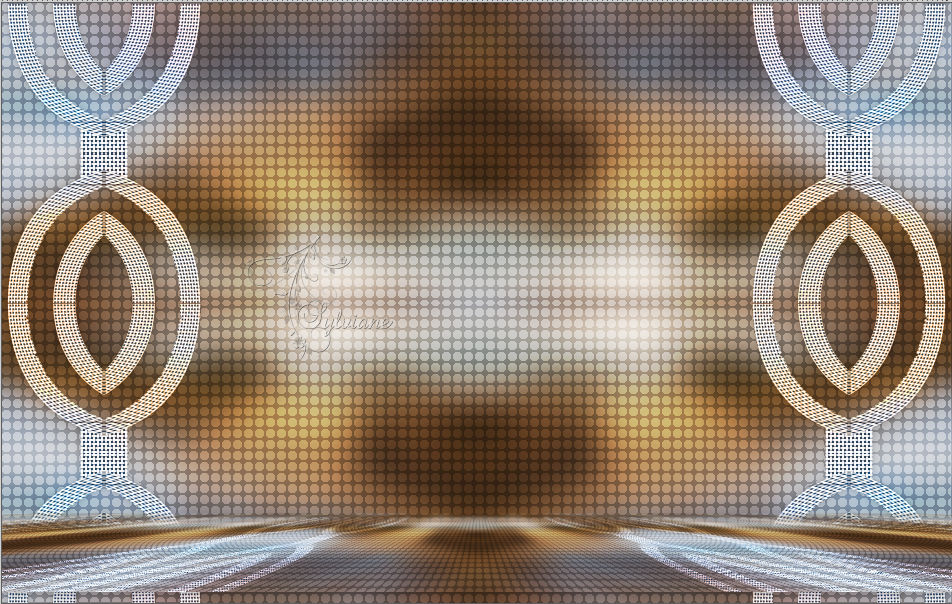
We get this
5.
Still on this layer
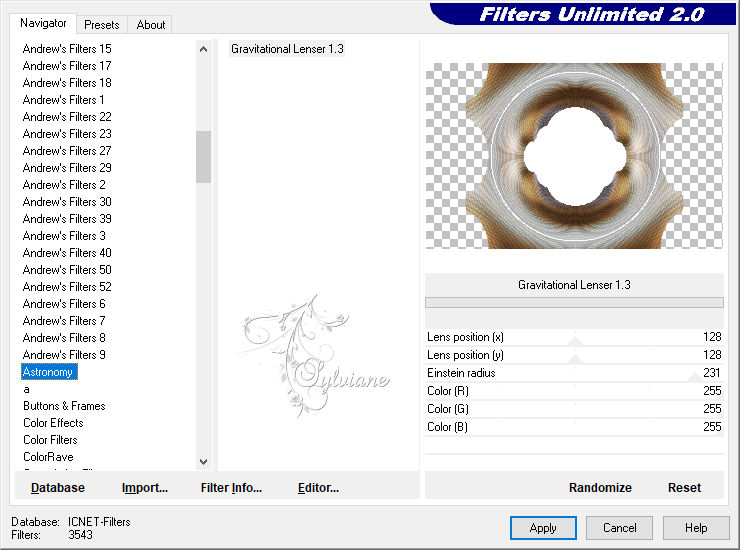
Plugin - Unlimited 2.0 – Astronomy - Gravitational Lenser 1.3
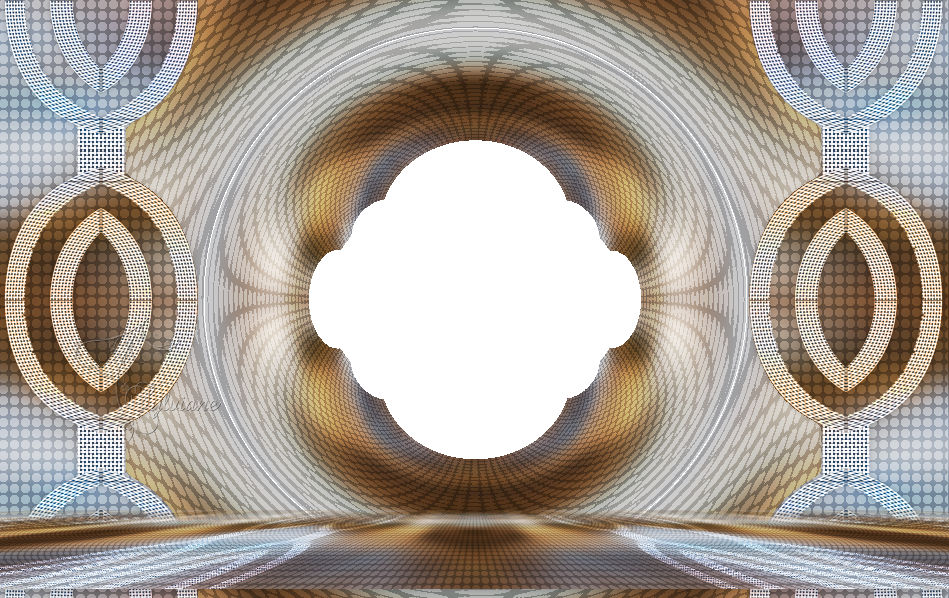
Our result
Magic wand ==> zero tolerance. Click in the white central part
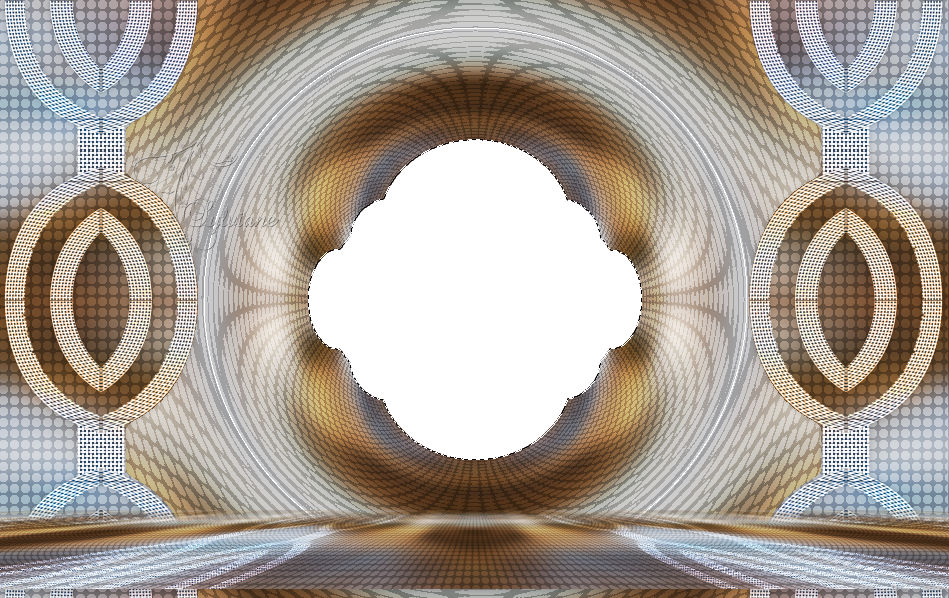
Delete or delete on the keyboard.
Selections - modify - select selection borders
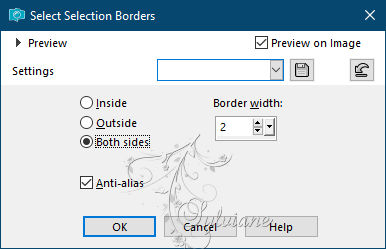
Fill selection with #4e321c
Effects – 3D effects – inner bevel
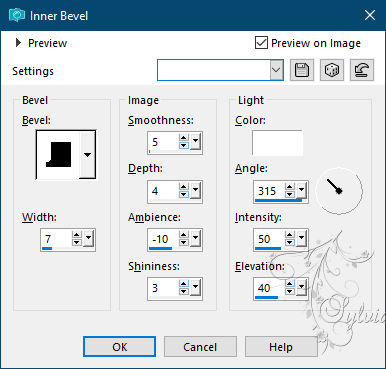
Selection - Select None
6.
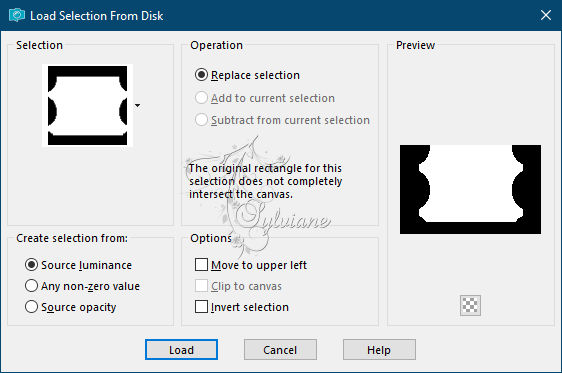
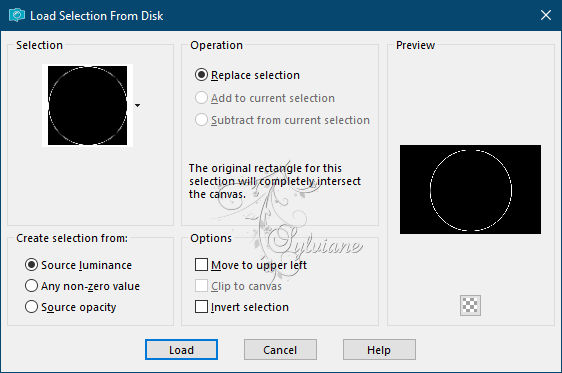
Selections - Load / Save - Load selection from disk – SELECTION 3 164 .PspSelection
Layers - New Raster Layer
Layers – arrange – move down
Open 818988690fb915ab6122db8e05e74569.jpg
Edit – Copy
Edit - Paste into selection
Selections - Invert
Effects - 3 D effects - Drop shadow
0/0/100/50 color:#000000
Selection - Select None
Activate Promoted Selection
Selections - Load / Save - Load selection from disk – SELECTION 4 164 .PspSelection
Layers - New Raster Layer
Fill selection with #4e321c
Effects – 3D effects – inner bevel
Selection - Select None
Stay on this layer
7.
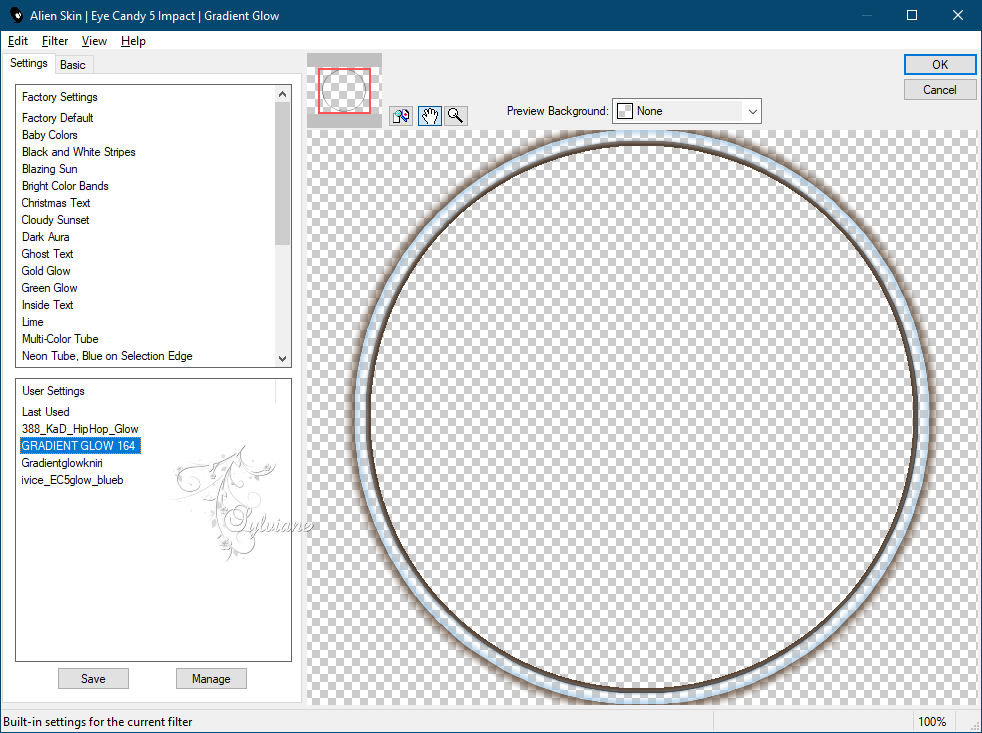
Selections - Load / Save - Load selection from disk – SELECTION 5 164 .PspSelection
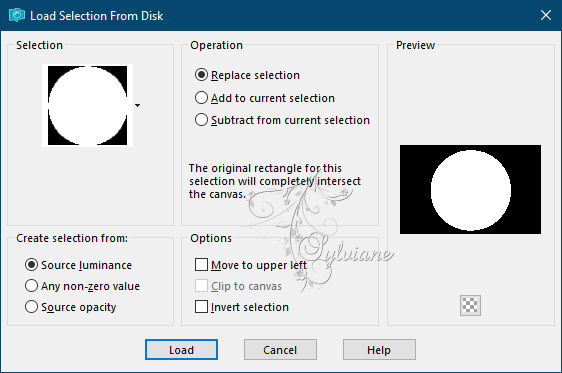
Plugin - Alien Skin Eyes Candy 5 – Impact - Gradient Glow

Selections - Invert
Effects - 3 D effects - Drop shadow
0/0/40/20 color:#000000
Selection - Select None
We get this
8.
Selections - Load / Save - Load selection from disk – SELECTION 6 164 .PspSelection
Layers - New Raster Layer
Open 818988690fb915ab6122db8e05e74569.jpg
Edit – Copy
Edit - Paste into selection
Selection - Select None
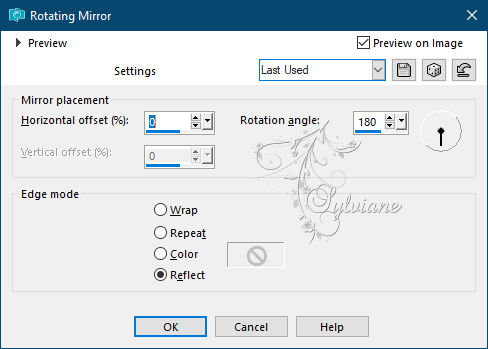
Effects – reflection effects – rotating mirror
Selection - Select All
Selections – float
Selections - defloat
Selections - Invert
Effects - 3 D effects - Drop shadow
0/0/50/25 color:#000000
Selection - Select None
9.
Activate Raster 1
Selections - Load / Save - Load selection from disk – SELECTION 7 164 .PspSelection
Effects - 3 D effects - Drop shadow
0/0/50/50 color:#000000
Selection - Select None
Activate Copy of Merged
Edit – Copy
Edit - paste as a new image
Layers - Merge - Merge visible layers
Selection - Custom selection
Edit copy
Edit - paste as a new image
Selection - Select None
10.
Image - Add Borders – 2 pixels – color:#4e321c
Selection - Select All
Image - Add Borders

Selections - Invert
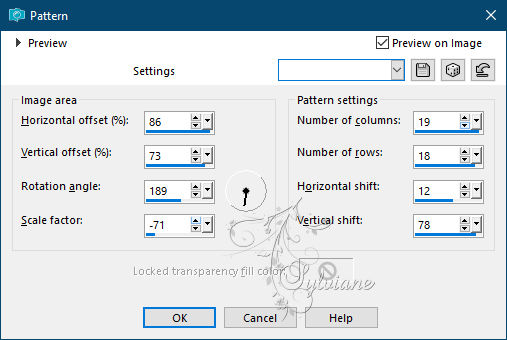
effects – reflection effects – pattern
Selections – Promote selections to layer
Selection - Select None
11.
Selection - Custom selection
Layers - New Raster Layer
Paste in the selection the small strip put on hold at the end of step 9 -
Selection - Select None
Copy / paste as a new layer the ground put on hold at the start of step 9 -
Place as on my capture:

Stretch left and right so that it touches the edges:
M button to deactivate the selector.
Layers – arrange – move down
Effects - 3 D effects - Drop shadow
0/0/40/20 color:#000000
12.
Result and position of the layers:
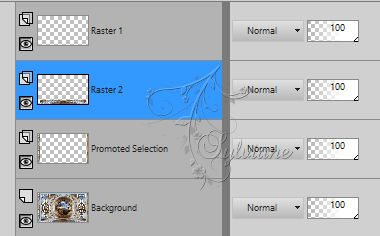
We are now Raster 2
Effects - 3 D effects - Drop shadow
0/0/100/40 color:#000000
Ativate Raster 1
Open AOUT 2021 BELLE DAUTOMNE 08 SWEETY.png
Edit – Copy
Edit - Paste as new layer
I haven't resized it. Place where you want
Open AOUT 2021 BANC 08 21 2021 SWEETY.png
Edit – Copy
Edit - Paste as new layer
Resized to 70%. Place where you want
Layers - Duplicate
Go to the original
Adjust - blur - gaussian blur
Radius 20
Mode of this layer to * Darken more * or your choice
Activate Copy of Raster 4
Effects - 3 D effects - Drop shadow
0/0/100/1 color:#000000
13.
Image - Add Borders – 2 pixels – color:#4e321c
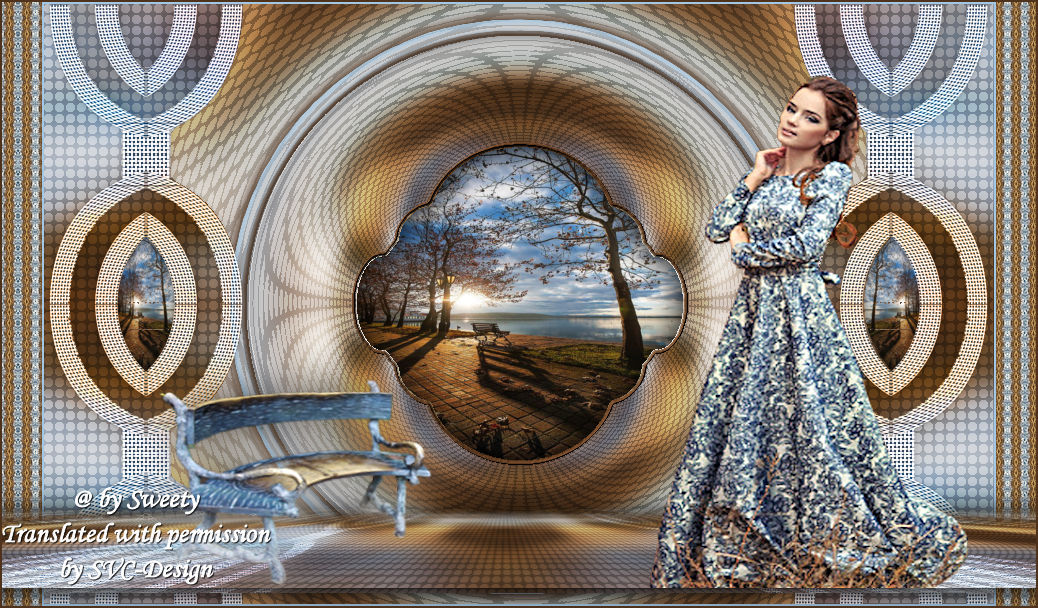
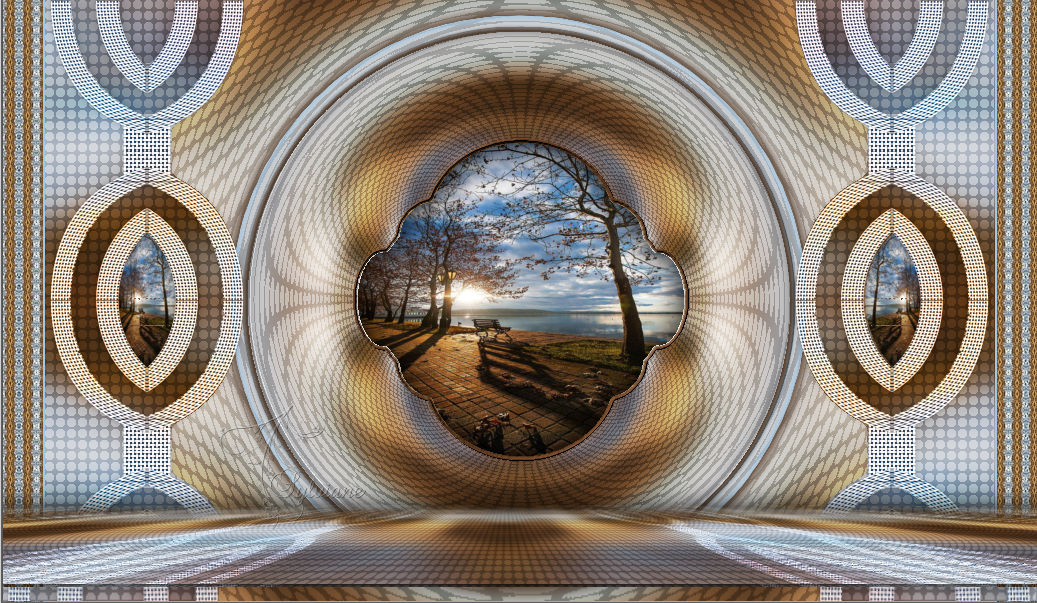
Sign and affix my watermark if you wish -
Layer – merge – merge all (flatten)
Resize to 950 pixels
Save as JPEG
Back
Copyright Translation © 2021 by SvC-Design